Your e-bike's brakes are one of those important safety features you must constantly keep your eyes on to ensure they're in good working order. Brake pads wear down over time, and when they get too thin, they won't be able to stop your bike as effectively. This can be dangerous, especially when riding in traffic or on hills.
However, you do not have to face the fear of having your brake fail at critical times while riding your e-bike, which is why we provide you with all the information you need to determine when your e-bike’s brake is failing and efficiently replace them as at when due.
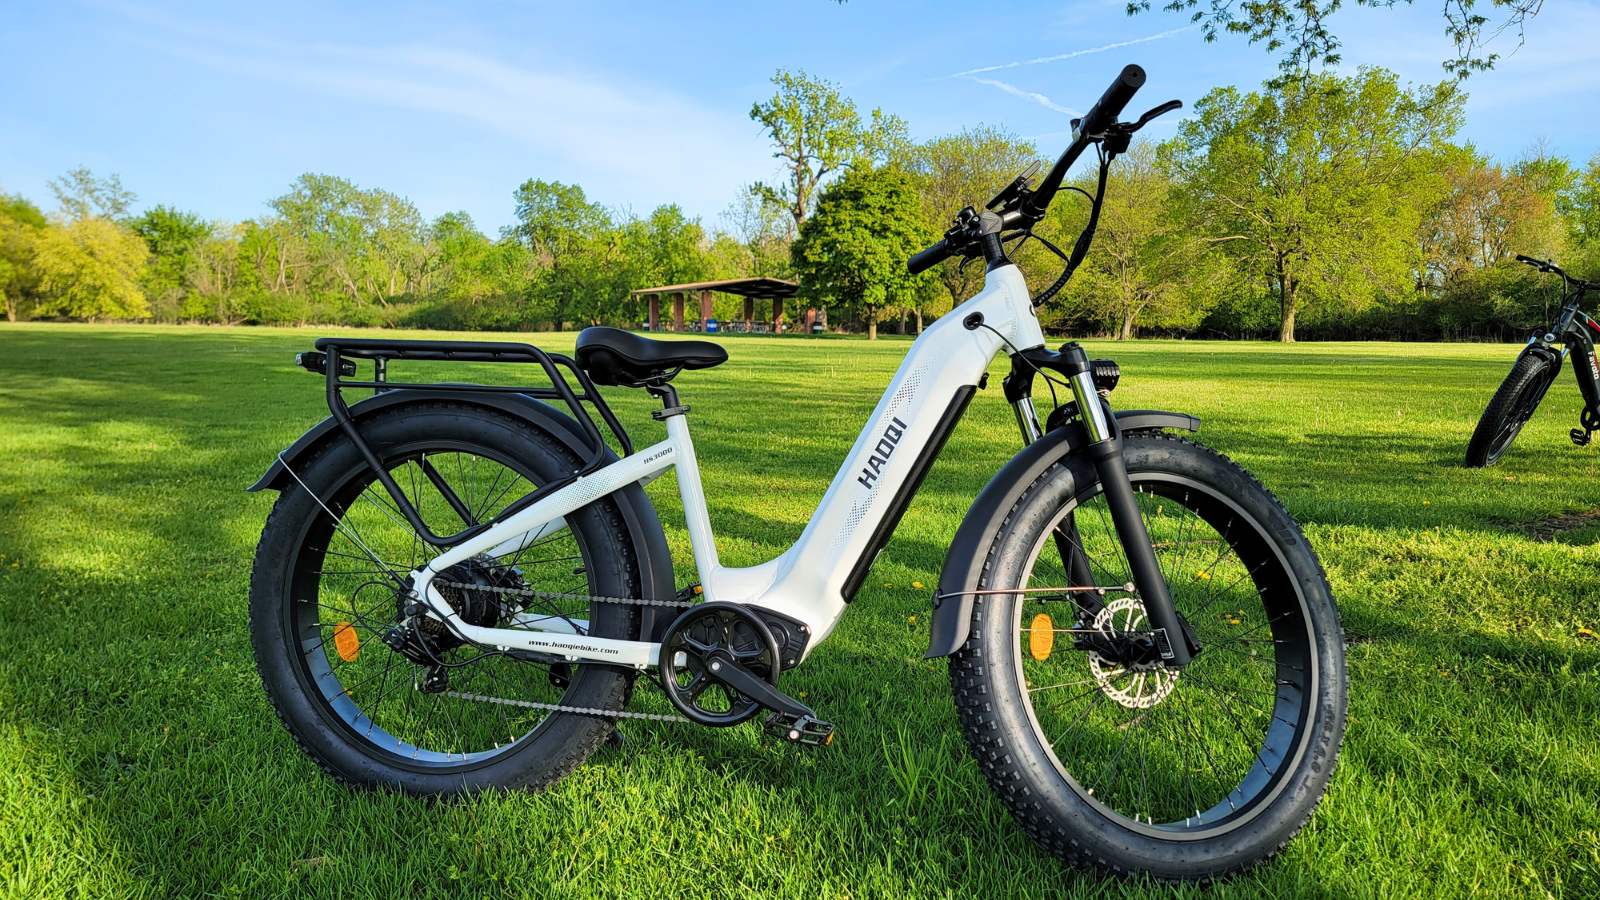
Determining when to replace an e-bike brake
There are a few ways to tell if your brake pads need to be replaced. One must look at them to see their physical damage or wear. If they're less than 1.5mm thick, it's time for new ones. You can also squeeze the brake lever. If it feels spongy or goes all the way to the handlebar, that's another sign that the pads are worn out.
Replacing ebike brake pads is a relatively simple job you can do yourself with a few essential tools. However, carefully following the instructions is important in ensuring you do it right.
The Steps To Replace Bicycle Brake Pads Are As Follows:
As riders, we know the importance of reliable brakes, and keeping those brakes in tip-top shape is crucial for safe, confident riding. So, put down that wrench you "borrowed" from the garage and grab your set from the nearest tool shop – it's time to learn how to replace your brake pads!
Step 1: Preparation for replacing brake pads
First things first, gather your tools: Allen wrenches (sizes vary depending on your brakes), a tire iron, a clean rag or paper cloth, appropriately sized hex key/flathead screwdriver, needle nose pliers, piston press or plastic tire lever, disc brake cleaner or isopropyl alcohol, and, of course, your new brake pads. You should consult your bike's manual to ensure you have the right tools and avoid surprises.
Step 2: Replace the brake pads to ensure safety
Shift your electric bicycle into the highest gear and set it securely on a stand or prop it against a wall. Now, loosen the brake cable tensioner, typically a small barrel adjuster near the brake lever. This eases pressure on the caliper, making pad removal easier.
Step 3: Release the bicycle brake line
It's time to remove the wheel with the worn-out pads. Use your tire iron to loosen the axle nuts, then carefully lift the wheel out of the frame. Now, squeeze the brake lever a few times to compress the caliper pistons, creating space for the new pads.
Step 4: Remove the old brake pads of the e-bike
Grab your Allen wrench and unscrew the caliper bolts. Gently pry the caliper off the rotor or rim, revealing your old brake pads. Inspect them – are they less than 1.5mm thick? If so, good riddance! Discard them responsibly (they often contain metal shavings).
Step 5: Clean the bicycle brake calipers
Now comes the cleaning part. Grab that rag and give the caliper a thorough scrub, removing any dirt or debris that could affect braking performance. A squeaky-clean surface ensures your new pads make perfect contact, delivering that smooth, responsive stopping power you want as you cruise around in style on your Haoqi e-bike.
Step 6: Install new bicycle brake pads.
Now, let's get those new pads in place! Here's the tricky part, but don't worry. It is as simple as cornering on a wide street. Carefully handle those pads; you’ll want them perfect for future rides. Gently slide them into the caliper's designated slots, ensuring they fit snugly. Match any markings or arrows for proper alignment. And it would do you a lot of good to refer to your electric bike's manual or the pad packaging for specific instructions if needed.
Step 7: Reinstall the bicycle brake caliper
Now, it's time to reunite the caliper and frame. Remember those Allen wrenches we prepped earlier? Grab the right size and carefully screw the caliper bolts back in. Tighten them securely, but stay moderate because you want the caliper to move smoothly when you squeeze the brake lever. Any over-tightening can create friction and hinder that crucial stopping power. So, tighten gradually, feel for smooth movement, and if in doubt, consult your manual or give those bolts a tiny quarter-turn back.
Step 8: Check the braking effect of the bicycle
Let's put everything back together and see if our work paid off. Reattach that wheel, snugging up the axle nuts with your wrench. Now comes the moment of truth: squeeze that brake lever. Does it feel firm and responsive? Do the pads kiss the rotor or rim with even, gentle contact? If so, you've nailed it! But if something feels off – the lever feels spongy, the pads rub unevenly – don't fret! We've got this. There's usually a brake tensioner near the lever – a minor adjustment might be all it takes to find that perfect balance. If not, don't hesitate to consult your bike's manual or seek help from a trusted mechanic – they'll be happy to guide you through any final adjustments. Also, you can access many video tutorials online to help you find that perfect balance.
Step 9: Repeat the process on the second wheel
But wait, there's one more crucial step! Like a balanced bike that needs symmetrical wheels, your braking power thrives on even distribution. That's right, it's time to repeat this entire process on your other wheel! Grab your tools and meticulously follow the steps again. Balanced braking ensures smooth, controlled stops regardless of the terrain or situation. So, give your other wheel the same TLC, and soon, you'll be cruising with the confidence that comes from knowing both sides are ready to bring you to a safe and sound stop.
Conclusion
There you have it! Your fat tire e-bike is now sporting fresh brake pads, prepared to conquer hills and navigate city streets with renewed confidence. Now, you have the responsibility to constantly monitor your pad wear, inspect regularly, and don't hesitate to repeat this process whenever needed. So, keep these steps in mind, address any concerns with your local bike shop, and most importantly, enjoy the freedom and thrill of the open road! Now get out there and explore, knowing you're equipped with the skills and confidence to handle any braking situation easily.


![HAOQI Antelope 500W Cargo Electric Bike (UL Certified) [electric bike] [HAOQI ebike]](http://haoqiebike.com/cdn/shop/products/haoqi-antelope-cargo-electric-bike-with-dual-battery-haoqiebike-com-1.jpg?v=1753954498&width=1500)
![HAOQI Squirrel Folding Electric Bike (UL Certified) [electric bike] [HAOQI ebike]](http://haoqiebike.com/cdn/shop/files/1_03c67b67-715e-4617-a648-51f108ceb425.jpg?v=1766473332&width=1500)
![HAOQI Eagle Long Range Electric Bicycle (UL Certified) [electric bike] [HAOQI ebike]](http://haoqiebike.com/cdn/shop/files/2_bf7ae46b-aad6-472a-9c14-d56ca3f0feb6.jpg?v=1755142722&width=1500)
![HAOQI Antelope Pro 750W Cargo Electric Bike (UL Certified) [electric bike] [HAOQI ebike]](http://haoqiebike.com/cdn/shop/products/haoqi-antelope-pro-cargo-electric-bike-with-dual-battery-750w-haoqiebike-com-1.jpg?v=1751610204&width=1500)





Leave a comment
All comments are moderated before being published.
This site is protected by hCaptcha and the hCaptcha Privacy Policy and Terms of Service apply.