Looking to take the plunge and build your very own electric bike? Great choice! But before you dive headfirst into this exciting project, there are a few things you should know. In this DIY guide, we'll walk you through everything you need to know about how to build an electric bike from scratch. From the initial costs to the ins and outs of the assembly process, we've got you covered. Plus, we'll delve into the advantages and disadvantages of building your own e-bike, as well as crucial safety and maintenance tips to keep your ride running smoothly for years to come. Ready to embark on this electrifying journey? Let's get started!
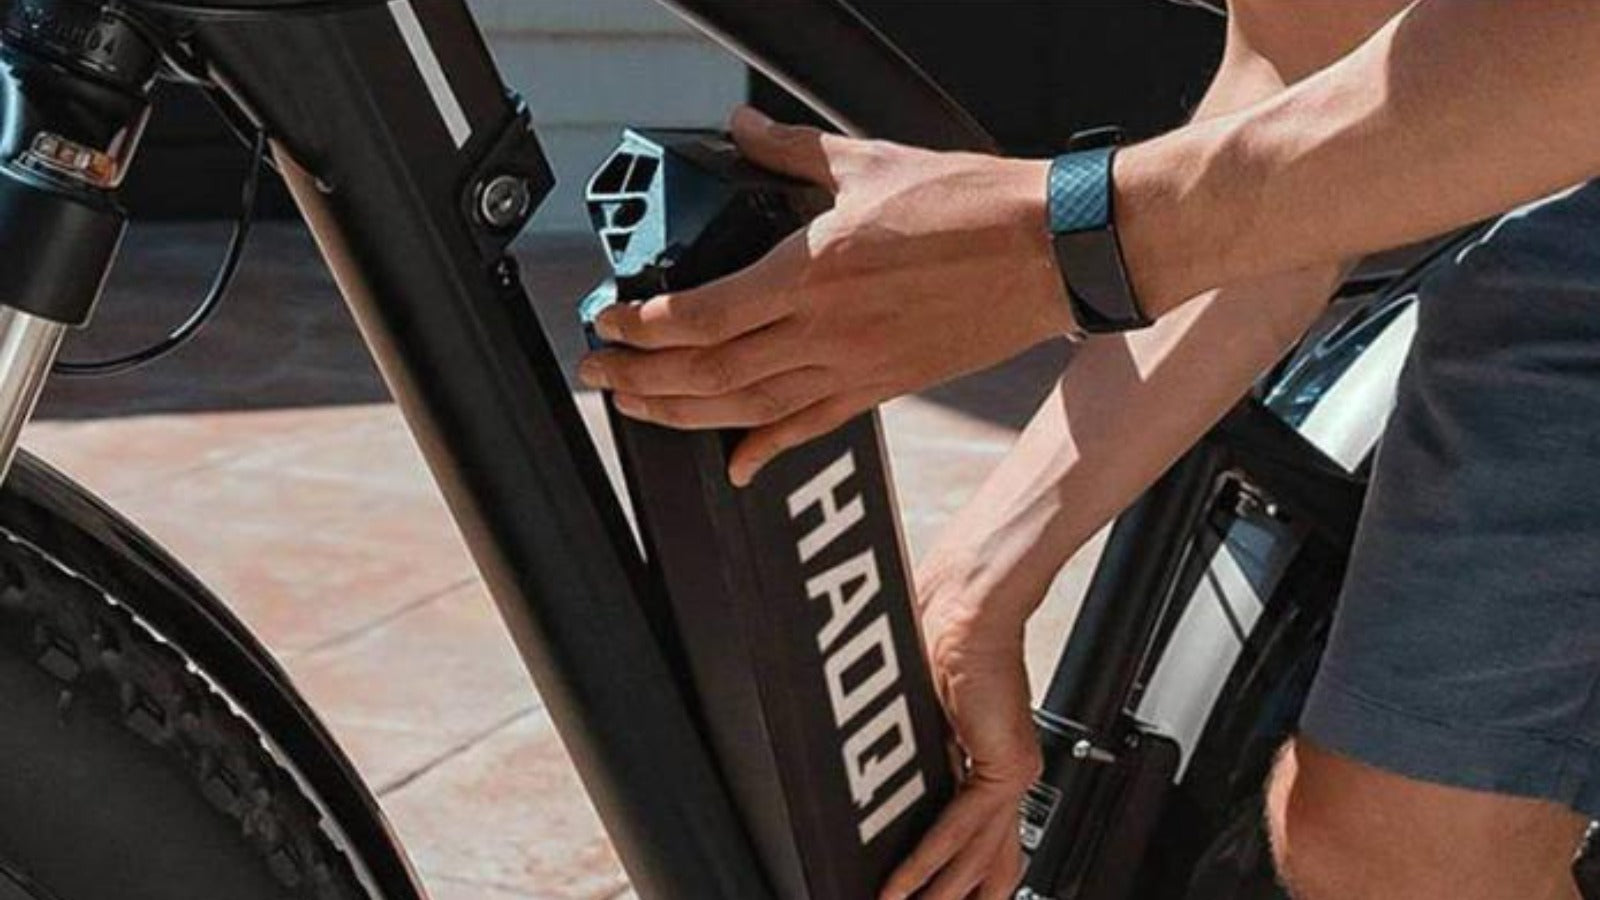
How Much Does It Cost to Build an Electric Bike?
Building an electric bike can vary in cost depending on several factors, including the quality of components, the type of bike frame chosen, and whether you're opting for a DIY approach or purchasing pre-built components. Here's a breakdown of potential costs:
- Bike Frame:If you don't already have a suitable bike frame, you'll need to purchase one. This cost can vary widely depending on whether you buy a new or used frame and the quality of the frame. Prices can range from $100 to $500 or more.
- Conversion Kit:The conversion kit typically includes essential components like a motor, throttle, speed controller, and hardware. The cost of these kits can range from $200 to $800 or more, depending on the quality and features included.
- Battery:The battery is one of the most significant expenses in building an electric bike. Prices for e-bike batteries vary based on voltage, capacity, and quality. A decent-quality ebike battery can cost anywhere from $200 to $800 or more.
- Additional Components: Depending on your preferences and needs, you may choose to invest in additional components like lights, fenders, racks, or a suspension fork. These can add anywhere from $50 to $300 or more to the total cost.
- Tools:You'll need basic tools like wrenches, screwdrivers, pliers, and possibly specialized tools for working on bikes. If you don't already have these tools, budget an additional $50 to $100 for tool expenses.
- Safety Equipment:Don't forget to budget for safety equipment like a helmet and reflective clothing, which are essential for riding safely. Prices for safety gear can vary, but budget at least $50 to $100 for these items.
- Miscellaneous Expenses:There may be additional expenses for shipping, taxes, or unforeseen costs during the build process. It's a good idea to set aside a buffer of around 10% to 20% of the total estimated cost for miscellaneous expenses.
In total, the cost to build an electric bike can range from $500 to $2000 or more, depending on the quality of components chosen and any additional accessories or upgrades. If you are interested in how to build an electric bike for less than $100, you'll likely need to get creative and resourceful. Many of the necessary accessories may need to be sourced from a scrap yard or repurposed from existing materials rather than purchased new. In this case, the overall cost may be significantly reduced, but it will require more time and effort to find suitable components.
How to Build an Electric Bike?
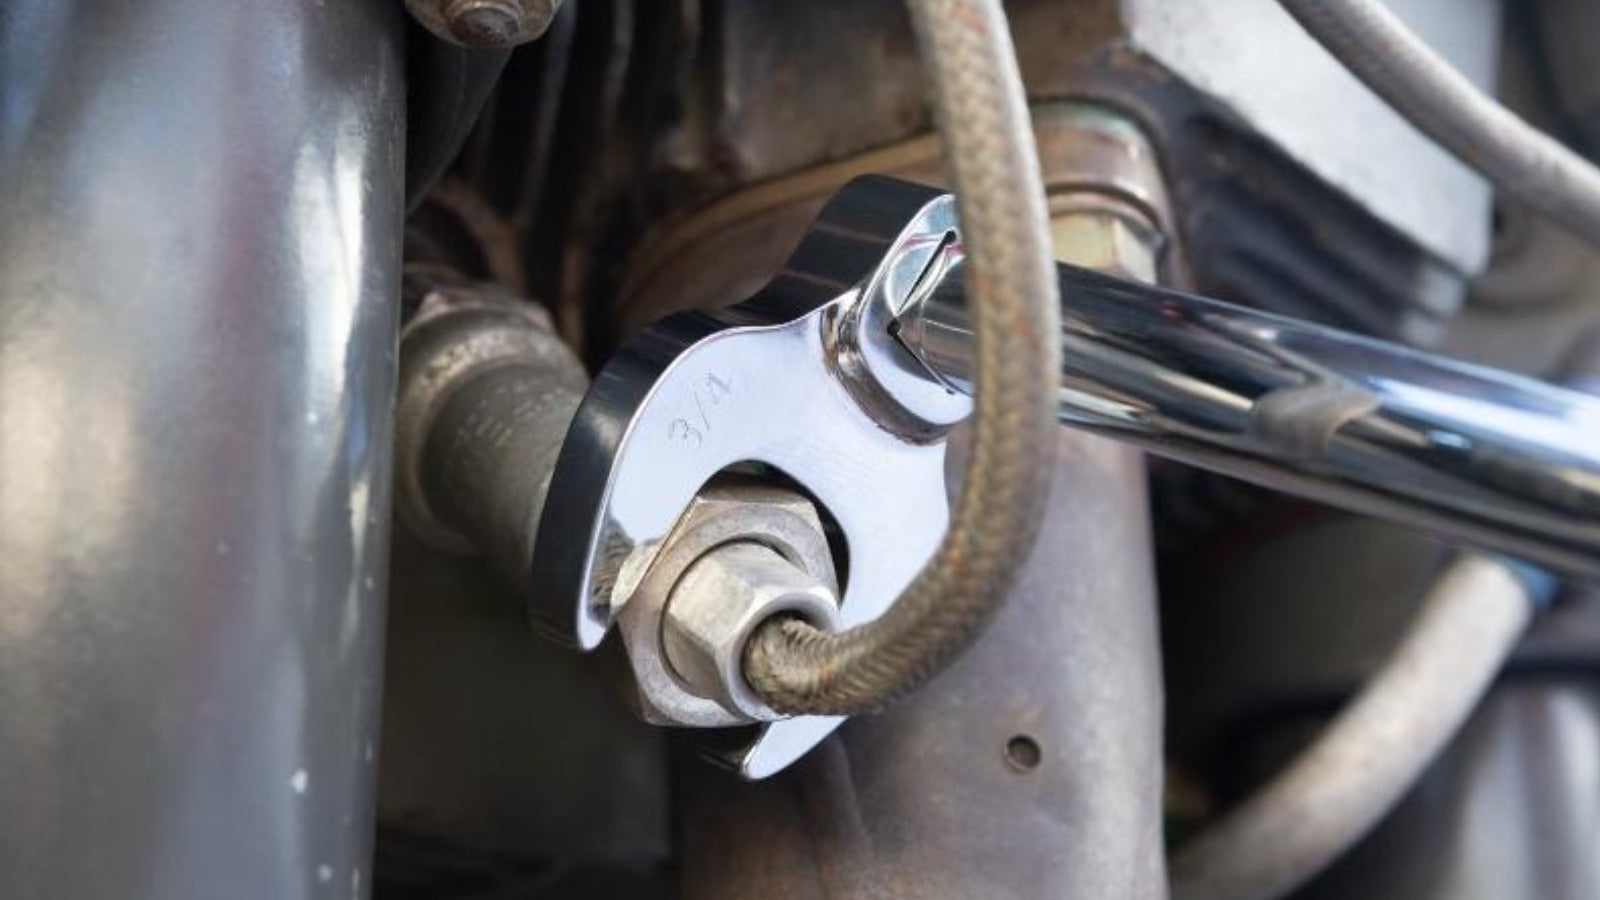
Prepare Materials and Tools
Before you begin building your electric bike, gather the following materials and tools:
- Materials:
- Bicycle (mountain bike recommended)
- Electric bike conversion kit
- Battery (36V or 48V with 10Ah or 20Ah capacity)
- Zip ties
- Electrical tape
- Tools:
- Adjustable Wrench: For tightening nuts and bolts.
- Socket Wrench Set: To handle various bolt sizes.
- Screwdrivers: Phillips and flathead for different types of screws.
- Allen Wrench Set: For hexagonal bolts commonly found on bikes.
- Pliers: Needle-nose and regular pliers for gripping and bending.
- Cable Cutters: For cleanly cutting and trimming wires.
- Multimeter: Helps diagnose electrical issues and check voltage.
- Crank Puller: If you need to remove the crankset.
- Chain Tool: For resizing or replacing the chain.
- Drill and Drill Bits: If new holes are needed for mounting.
- Threadlocker: Secures bolts and screws.
- Grease and Lubricants: For lubricating moving parts.
- Safety Gear: Gloves, safety glasses, and ear protection.
Step-by-Step Guide
- Choose the Right Bicycl
-Start with a sturdy bike that can handle the additional weight and torque of an electric motor. Mountain bikes and hybrids are popular choices due to their strong frames and versatility.
- Motor installation
- Follow the instructions provided with the conversion kit to attach the hub motor to the wheel.
- Use the appropriate size wrenches and screws to secure the motor in place.
- Ensure that the motor is aligned properly with the wheel hub to avoid any imbalance.
- Battery installation
- Choose a suitable location on the bike frame to mount the battery. Common positions include the downtube or rear rack.
- Use zip ties or mounting brackets to securely attach the battery to the frame.
- Connect the battery to the speed controller and throttle according to the wiring diagram provided with the kit.
- Use electrical tape to insulate and protect the wire connections.
- Carry out a no-load test
- Before fully assembling the bike, perform a no-load test to check the motor and electrical components.
- Connect the battery to the speed controller and throttle.
- Turn on the system and gently apply throttle to ensure the motor responds smoothly.
- Listen for any unusual noises or vibrations that may indicate a problem.
- Fault inspection and improvement
- After the initial test, inspect the bike for any loose connections or areas of concern.
- Use pliers to tighten any nuts or bolts that may have come loose during assembly.
- Check the alignment of the motor and wheel to ensure they are straight and - Test the brakes to ensure they are functioning properly and adjust if necessary.
While there may be slight variations depending on the specific components and features of each type of e-bike, the DIY steps are quite similar, regardless of whether it's an electric cargo bike or a commuter e-bike. By following these step-by-step instructions and using the appropriate tools, you can successfully build an electric bike at home.
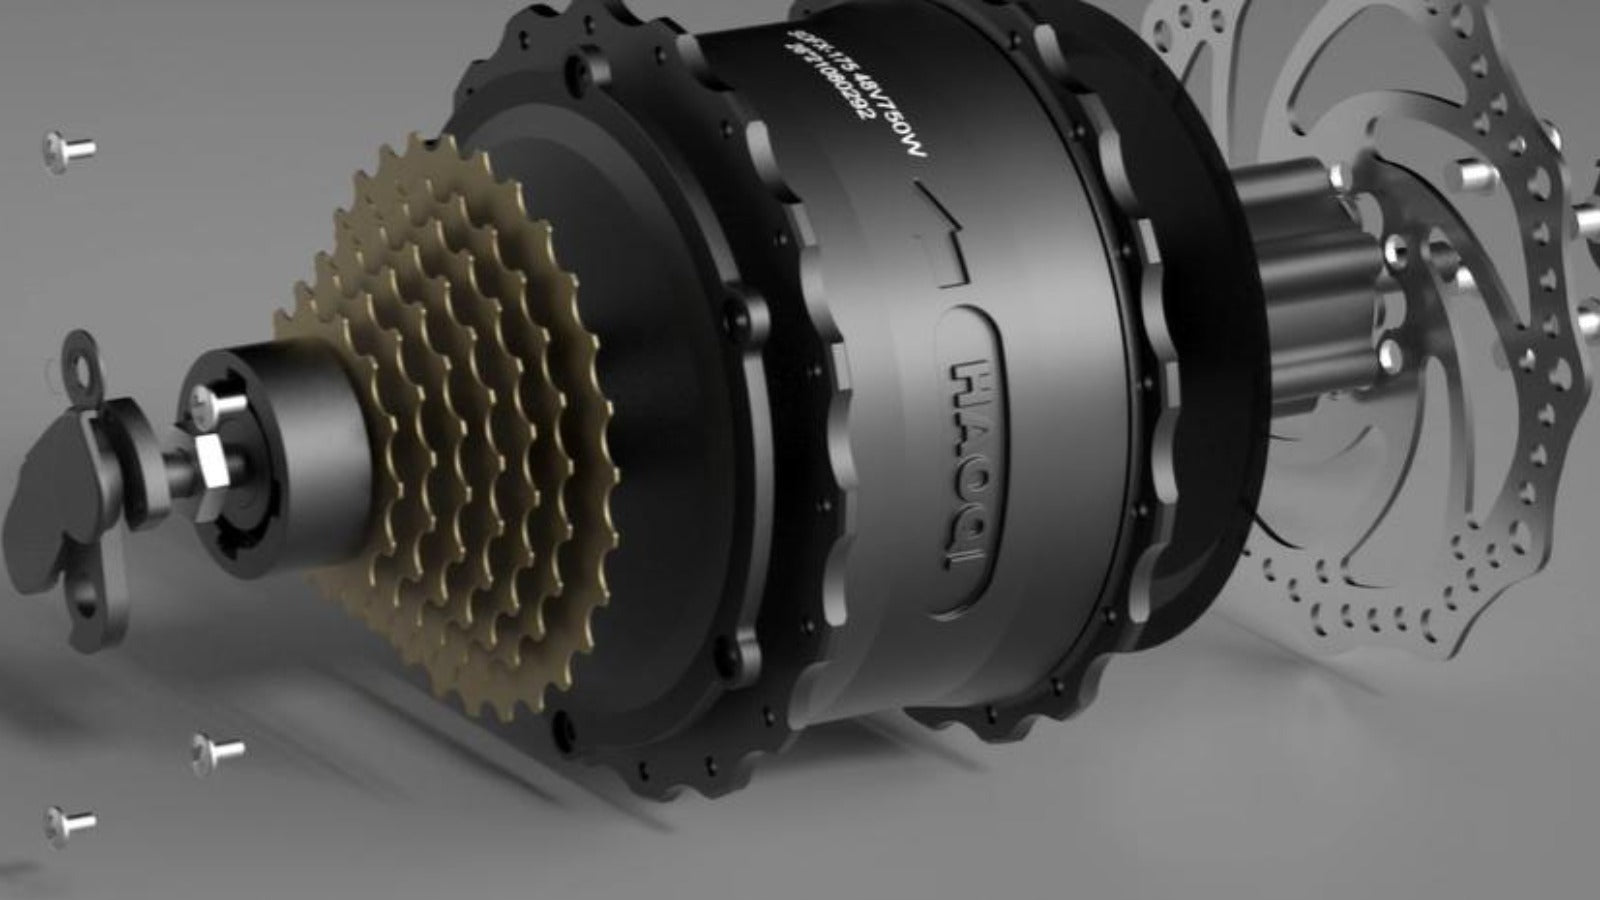
What Are the Advantages and Disadvantages of Building Your Electric Bicycle?
Building your electric bikes offer several advantages and disadvantages:
Advantages:
- Customization: Building your electric bike allows you to customize features such as motor power, battery capacity, and accessories to suit your needs.
- Cost Savings: DIY electric bike assembly can be more cost-effective than purchasing a pre-built e-bike, especially if you already own a suitable bike frame.
- Learning Experience: Building an electric bike provides valuable hands-on experience and knowledge about electric vehicle technology and maintenance.
Disadvantages:
- Time and Effort: DIY electric bike assembly requires time and effort to research, gather materials, and complete the build process.
- Technical Skills Required: Some mechanical and electrical knowledge is necessary to properly install and troubleshoot the components of an electric bike.
- Safety Risks: Improper installation or maintenance of electric bike components can pose safety hazards, so attention to detail and caution are essential.
Safety and Maintenance: Ensuring the Longevity of Your E-Bike
To ensure the longevity and safety of your electric bike, follow these safety and maintenance tips:
- Regularly inspect and maintain all components, including the motor, battery, brakes, and tires.
- Keep the electrical connections clean and secure to prevent corrosion and electrical faults.
- Adhere to the guidelines for charging and storing the battery to prevent damage and prolong its lifespan.
- Wear appropriate safety gear, including a helmet and reflective clothing, when riding your electric bike.
Conclusion
Building an electric bike can be a rewarding and cost-effective way to create a customized mode of transportation. By following a step-by-step guide on how to build an electric bike and prioritizing safety and maintenance, you can enjoy the benefits of your DIY electric bike for years to come.
FAQ
What's the best kind of motor for a DIY electric bike?
The best motor for a DIY electric bike depends on factors such as desired power, budget, and compatibility with your bike frame. Hub motors are popular for their simplicity and ease of installation, while mid-drive motors offer better efficiency and hill-climbing capability.
How to build an electric mini bike?
Building an electric mini bike follows a similar process to building a full-size electric bike but on a smaller scale. You'll need a suitable mini bike frame, electric bike conversion kit, battery, and basic hand tools. Follow the step-by-step instructions provided with the components to assemble the mini bike.
Can I customize my electric bike after assembly?
Yes, you can customize your electric bike after assembly to add accessories such as lights, racks, and fenders, or to upgrade components like the motor, battery, or drivetrain. Ensure compatibility with your existing electric bike components and follow installation instructions carefully to avoid damaging the bike.


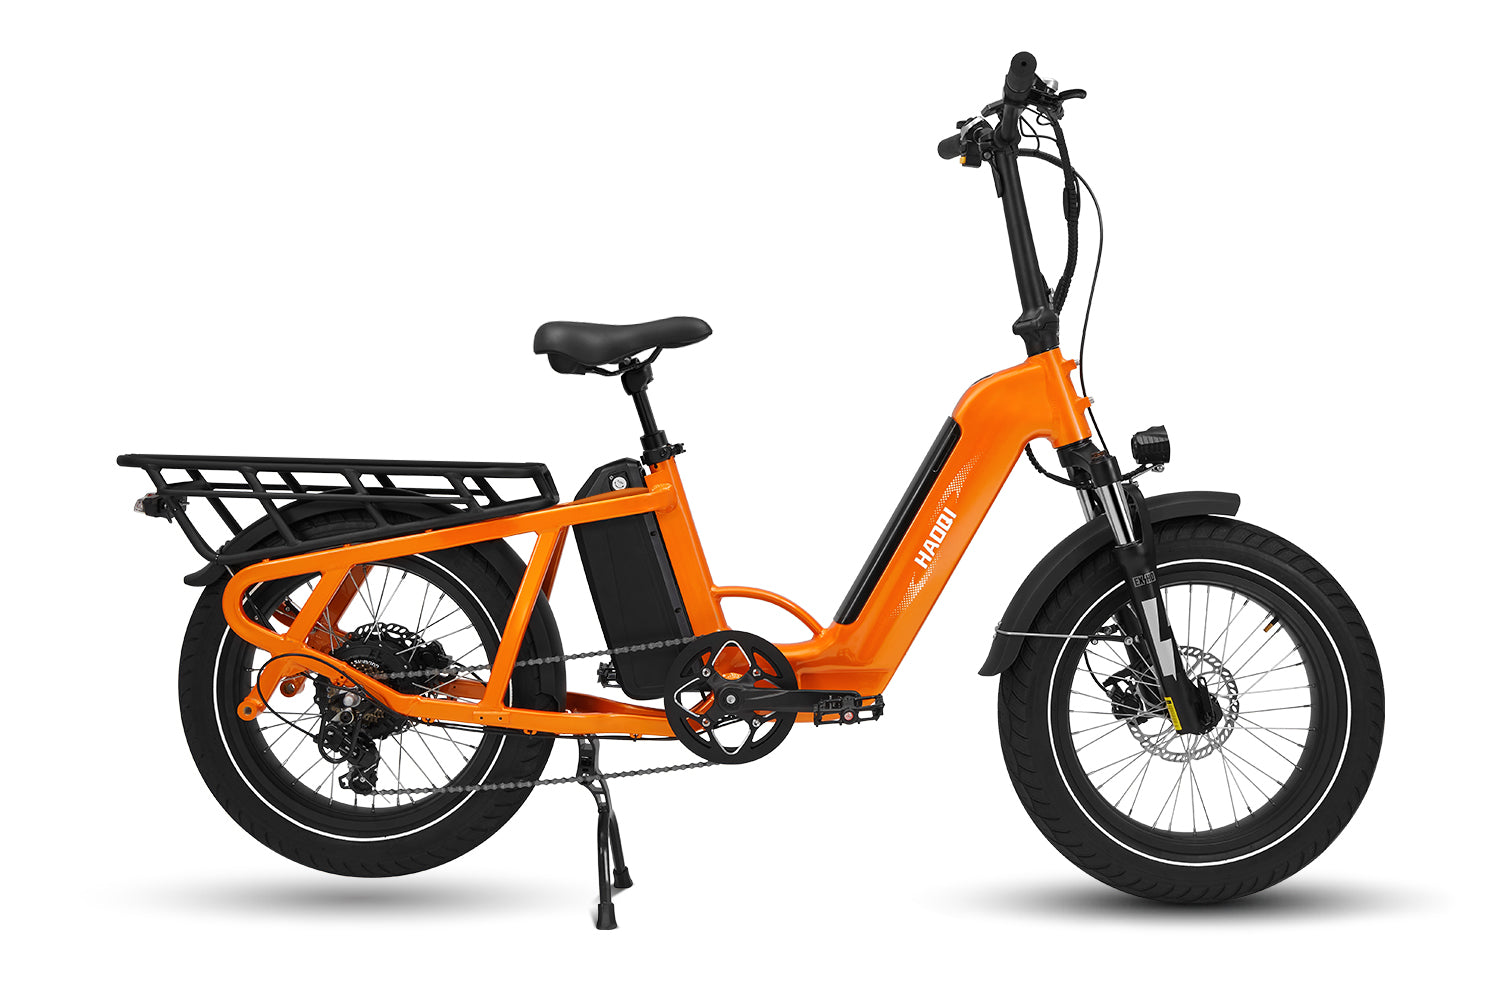
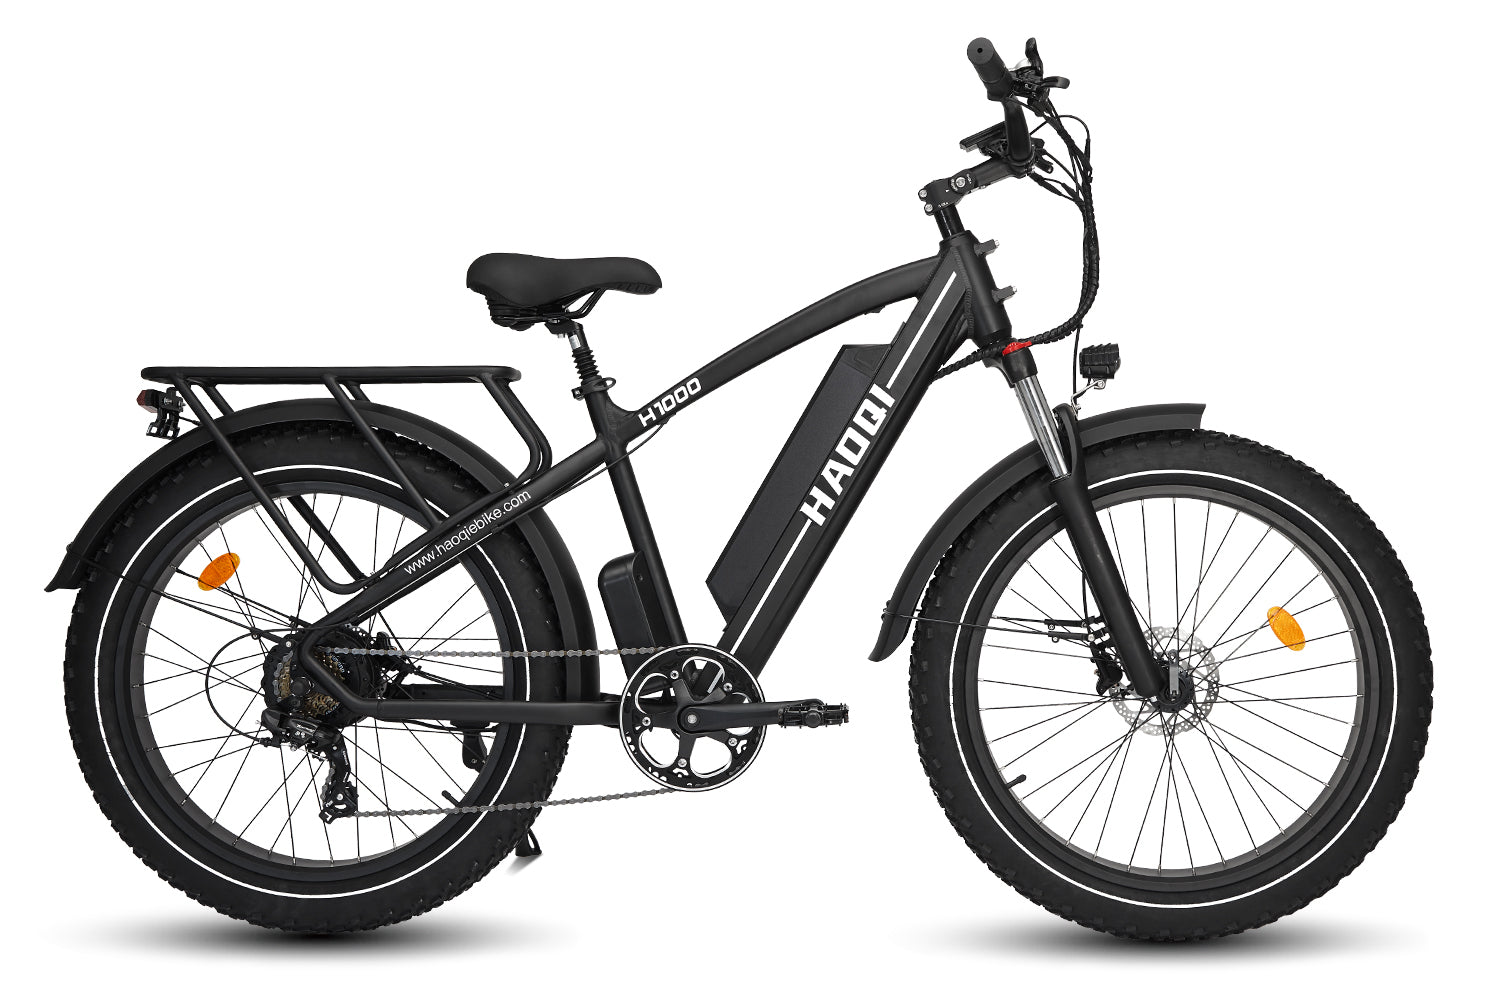
![HAOQI Antelope 500W Cargo Electric Bike (UL Certified) [electric bike] [HAOQI ebike]](http://haoqiebike.com/cdn/shop/products/haoqi-antelope-cargo-electric-bike-with-dual-battery-haoqiebike-com-1.jpg?v=1753954498&width=1500)
![HAOQI Squirrel Folding Electric Bike (UL Certified) [electric bike] [HAOQI ebike]](http://haoqiebike.com/cdn/shop/files/1_03c67b67-715e-4617-a648-51f108ceb425.jpg?v=1766473332&width=1500)
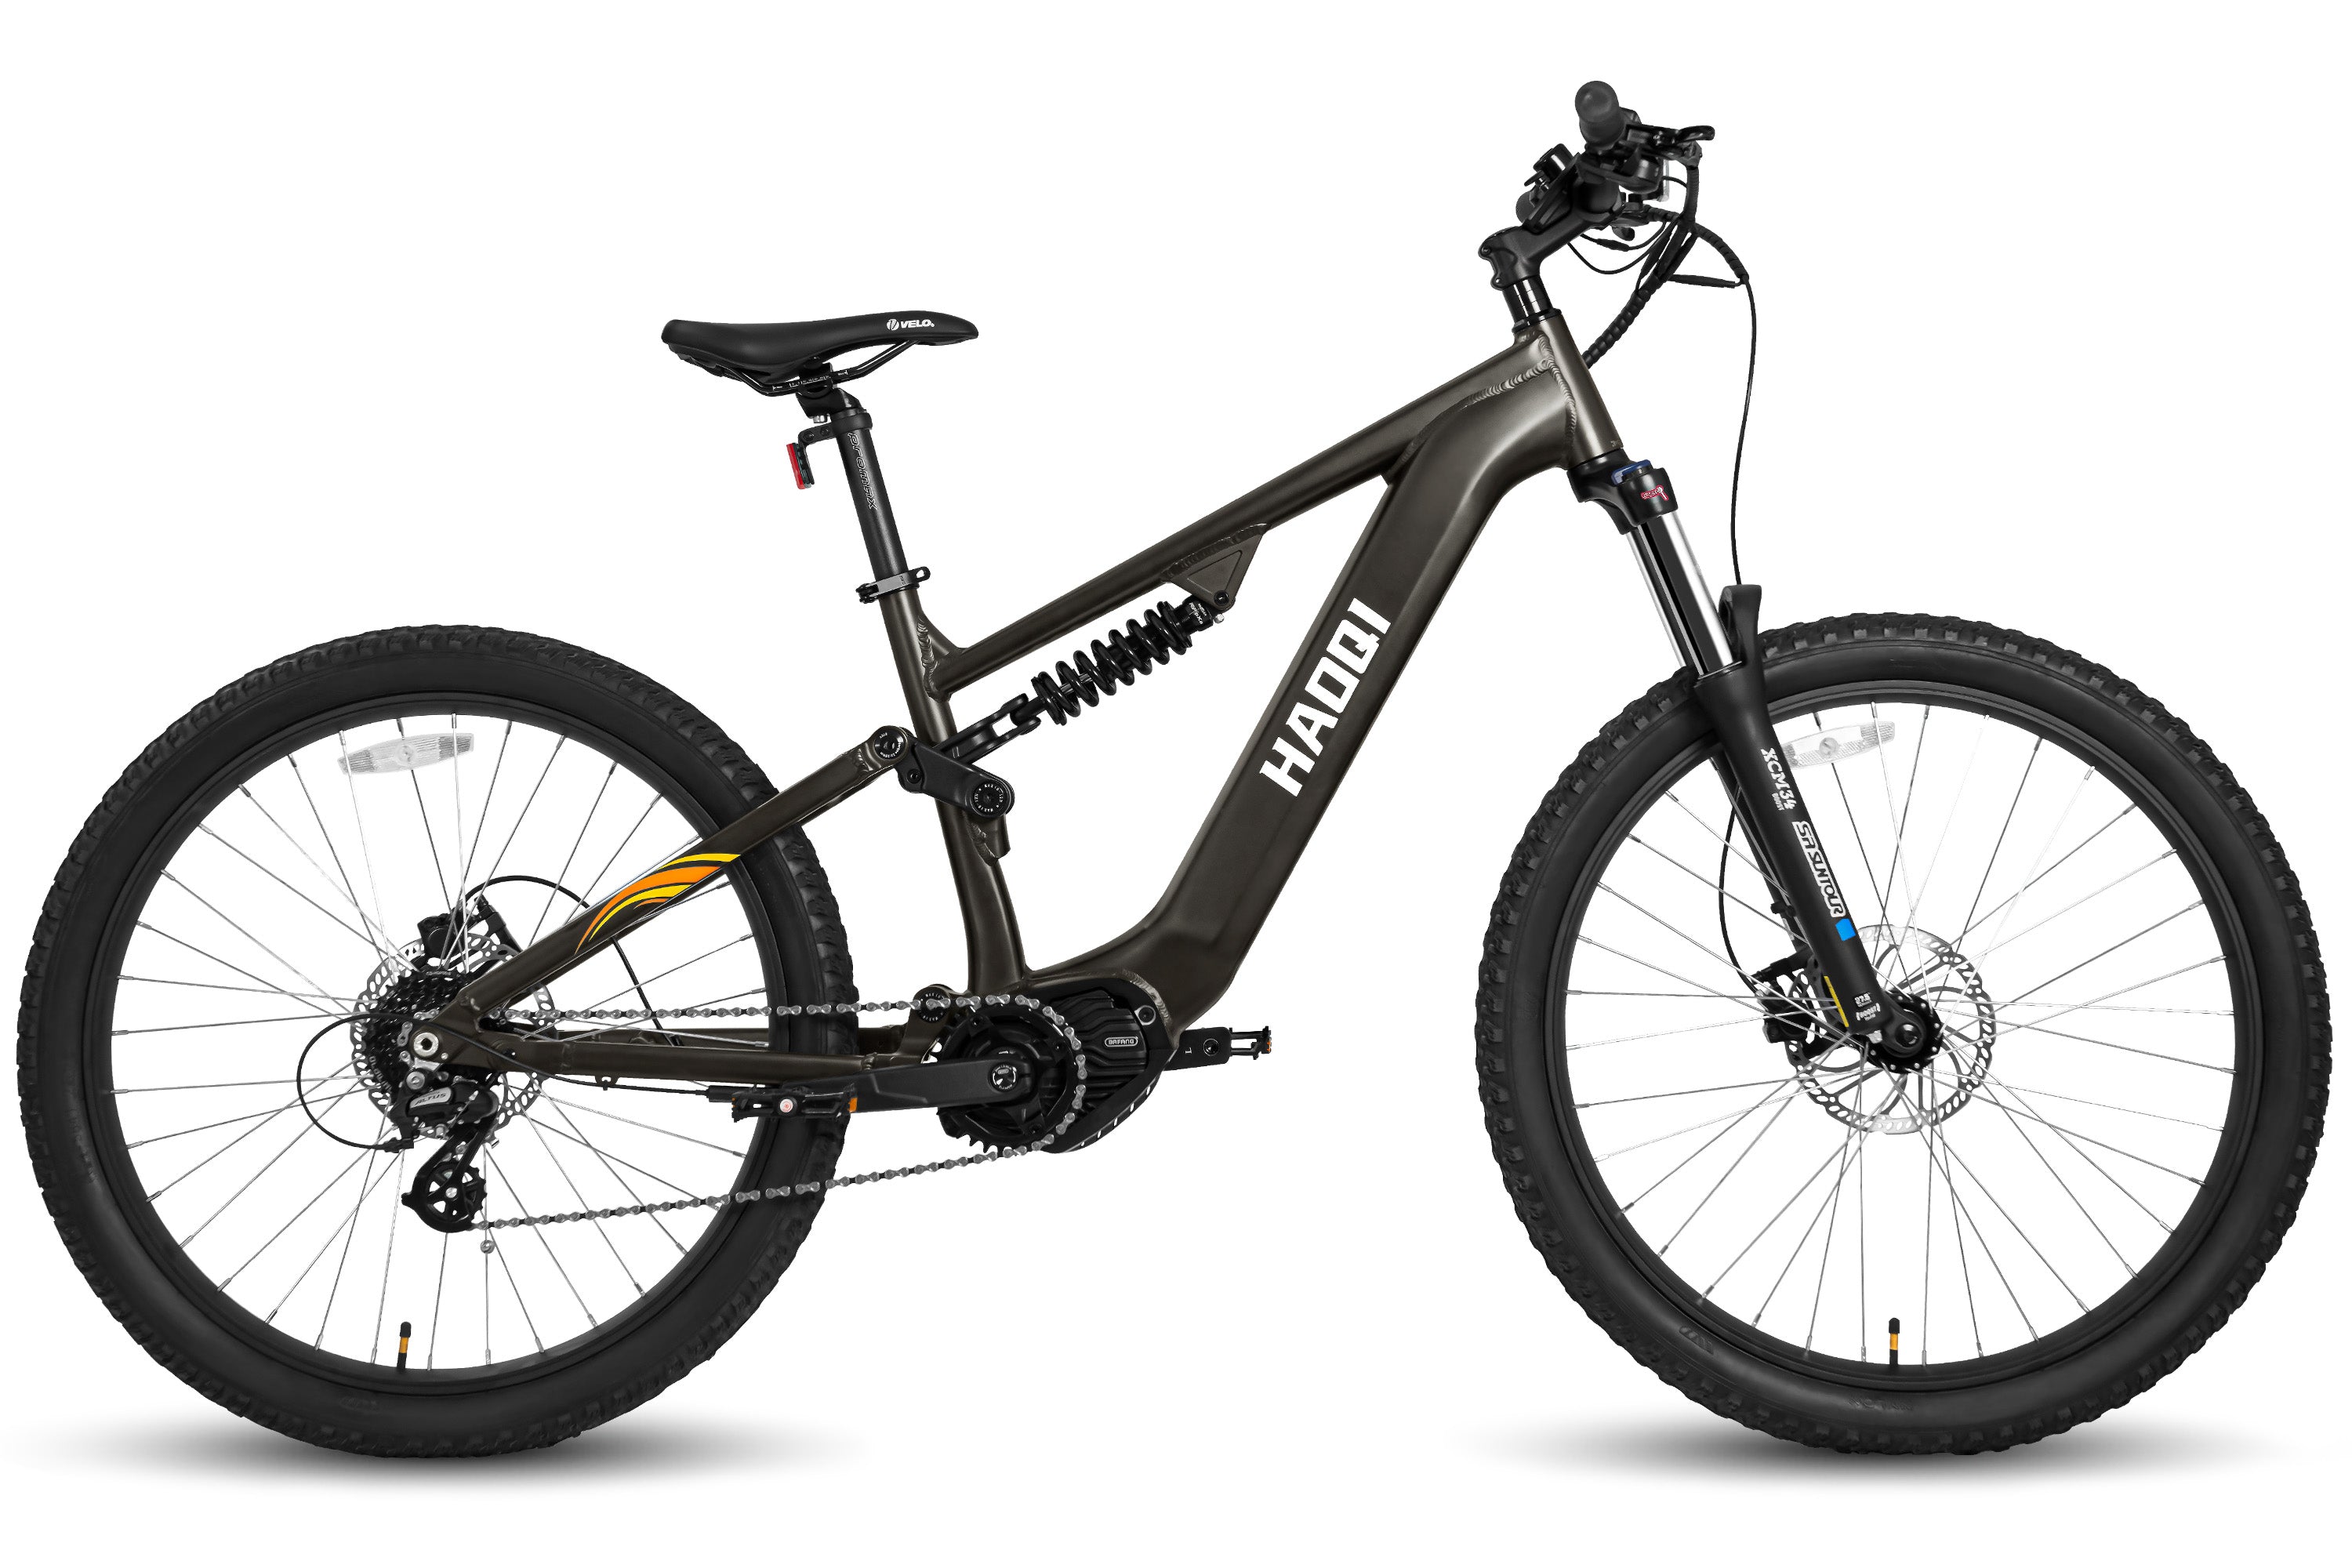
![HAOQI Eagle Long Range Electric Bicycle (UL Certified) [electric bike] [HAOQI ebike]](http://haoqiebike.com/cdn/shop/files/2_bf7ae46b-aad6-472a-9c14-d56ca3f0feb6.jpg?v=1755142722&width=1500)
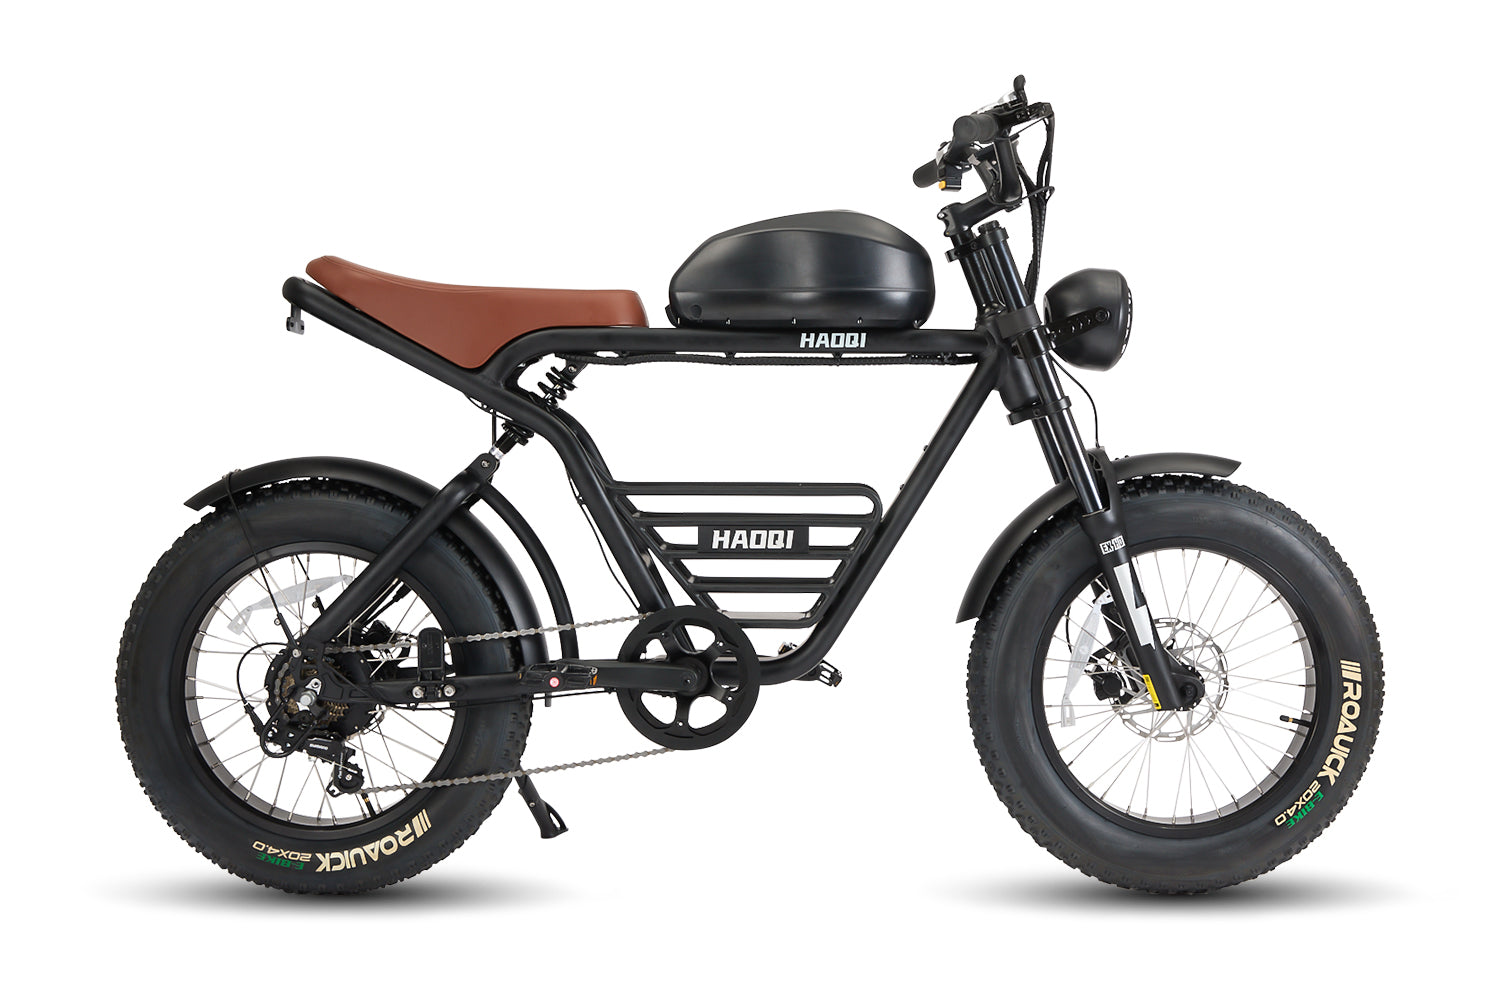
![HAOQI Antelope Pro 750W Cargo Electric Bike (UL Certified) [electric bike] [HAOQI ebike]](http://haoqiebike.com/cdn/shop/products/haoqi-antelope-pro-cargo-electric-bike-with-dual-battery-750w-haoqiebike-com-1.jpg?v=1768462381&width=1500)




Leave a comment
All comments are moderated before being published.
This site is protected by hCaptcha and the hCaptcha Privacy Policy and Terms of Service apply.